

How To Install Led Rope Lights Outdoor
Unlike traditional mural lighting that outlines borders with single lights sticking up in a higher place the ground, rope light can blend seamlessly with the natural surroundings and create continuous illuminated borders, which are stunning with landscape contours and pathways. They're also a love option for people who desire to make unique, artistic outdoor light displays.
Why Nosotros Love Rope Low-cal
Our love for rope light is rooted in its versatility. These flexible tube lights are weather resistant, can be customized to fit just about whatever outdoor surface area, and are easy to install. You can do some astonishing things indoors with rope light; only take it outside, and your landscapes, decks, and walkways can be completely transformed in a surprisingly brusque amount of time.
Which Rope Low-cal is Right for Your Projection?
Choose rope light spools for big outdoor projects.
LED rope calorie-free spools are best for a wide range of lighting projects as they allow for plenty of length to be covered and can be spliced for complete customization. Their cuttability allows for versatility and modest space applications. Plus, any leftover can be used in other lighting projects!
Rope light Color & Unique Blending
Many colors are available, which makes creative lighting ideas come to life. But for the bulk of outdoor projects, white rope lite is the near popular option because the clear tubing blends into the surround when not in use.
Tips for Working With Rope Low-cal
-
Rope light spools like the 150' spool from Wintergreen Lighting include accessories to make installation easier: 3 power cords & 3 power string splice pins, three splice connectors and 6 splice pins, 3 finish caps, 50 mounting clips, ane tube of sealant
-
To forbid lite runs that are likewise short or likewise long, we suggest taking measurements of the desired install location and leaving your rope light on the spool until y'all have it securely in place using one of the methods beneath. Then, once your light is exactly as you want it, you can cut it from the spool and connect your power cord.
-
While LED rope light emits less heat than incandescent rope low-cal, neither should ever exist olugged in while still wrapped on the spool considering doing so will damage the lights. Rope light should only be lit up one time information technology is laid out.
How to Cut Rope Light
Rope light spools can be cut using either precipitous scissors or a pocketknife. Before cutting, measure the area where you programme to install the rope light and so cut the tube at the corresponding length with the nearest cutting mark. The mark that indicates a prophylactic spot for cut rope light will typically look like a minor scissors or a dashed line. This is the only place that LED or incandescent rope light should be cut. The altitude between the cut marks will vary depending on the rope light so information technology'south important to mensurate your space and choose the cut mark closest to that measurement. E'er brand sure the rope low-cal is non continued to ability earlier cutting.
How to Connect Sections of Rope Calorie-free
When installing rope light for custom projects, you may need to use connectors to join two or more pieces of rope calorie-free together. Knowing how to use connectors is especially helpful if a section of rope low-cal stops working and needs to be removed. If you plan to join multiple rope lights together, keep in heed that the pieces of rope light being connected must be the same in voltage and wire count. The connectors you use will also demand to match the rope low-cal wire count and diameter. As a full general guide when using any connector, you will want to line up the kickoff holes of the rope light with the commencement prongs of the connector. Then, firmly connect the pieces together. The video below will introduce you to the dissimilar types of rope low-cal connectors and how to use them.
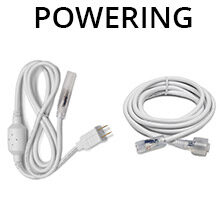
Powering Rope Light
After you have cut and continued your rope calorie-free to fit your space or projection, you will need to add a ability connector to 1 end. And so, an end cap can be used to safely encompass the reverse finish of the rope light ensuring a secure, water tight connection.
Wrap Rope Light Effectually Posts, Poles, and Trees
What Yous'll Need:
- Rope Light
- Ability Cord (iii are included with spools)
- Zip ties, clips, fasteners, or adhesive
- Finish caps (3 are included with spools)
How to Wrap Rope Light on Poles & Trees:
-
To wrap trees or posts with rope light, get-go at the highest or furthest indicate and wrap your desired length and look.
-
One time that length is determined you tin connect a ability plug to light it up. The rope light end cap and power plug accessories tin be sealed using the included sealer or any outdoor silicon sealer.
-
The more than twists, turns, and angles your display has, the more fastening accessories you may demand to achieve the expect you want. Pace dorsum and make necessary adjustments every bit you go to ensure your brandish is every bit you want it.
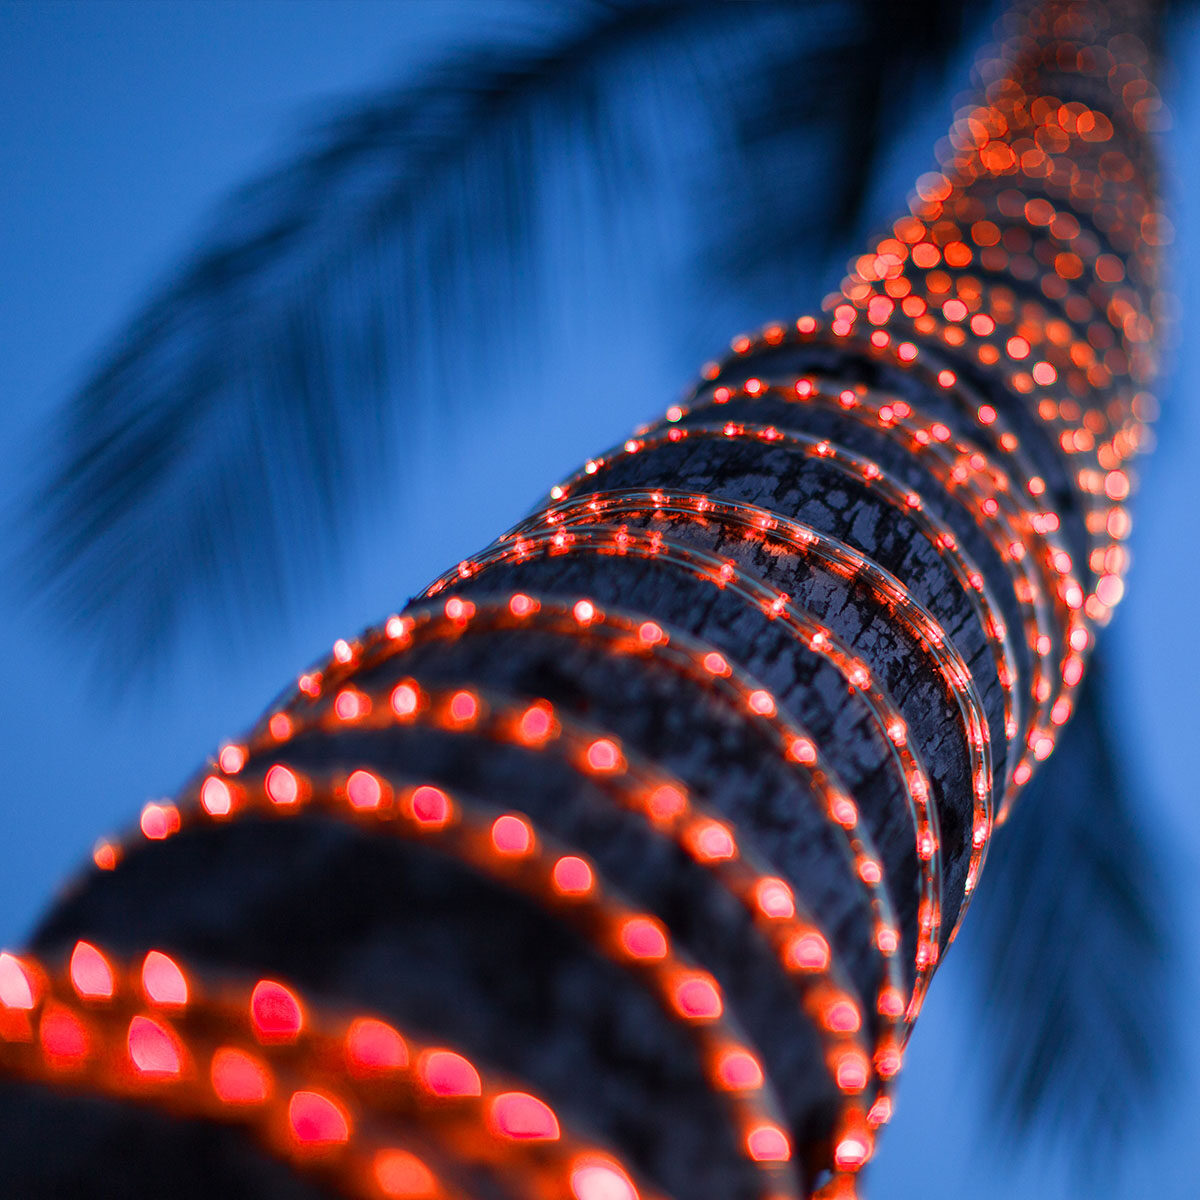
Rope Light Wrapped Around A Palm Tree
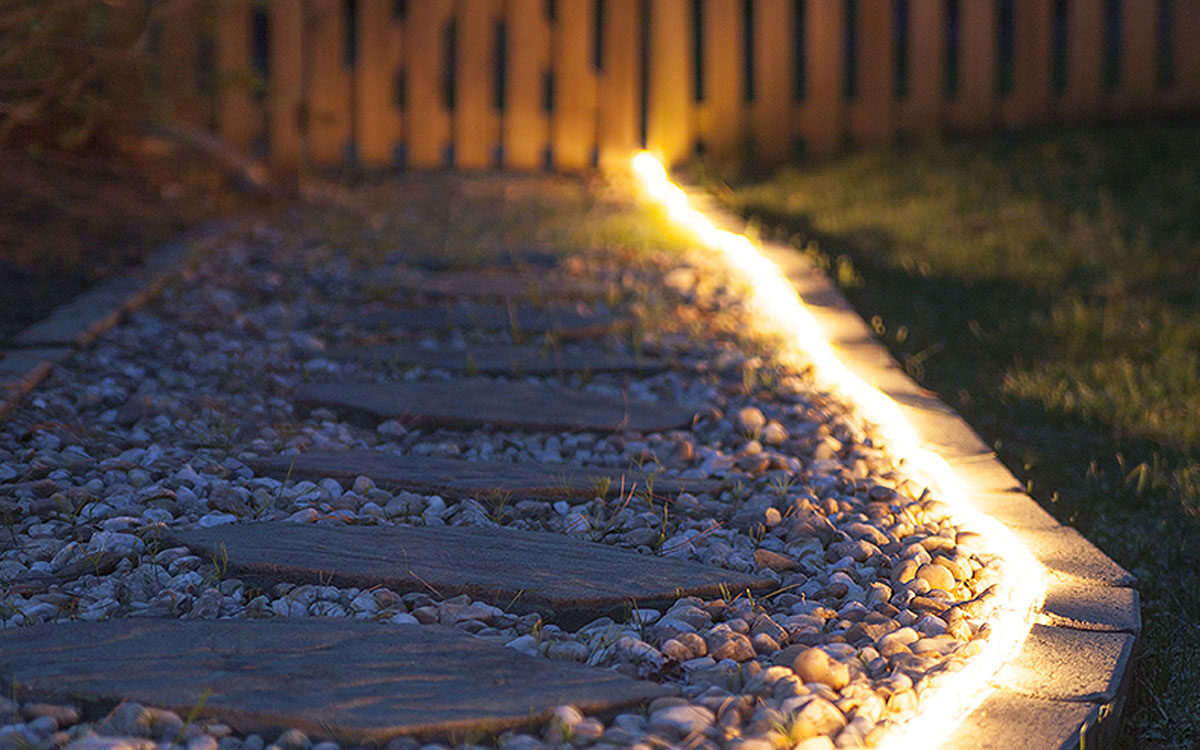
Highlight Walkways & Landscapes With Rope Light
What Yous'll Need:
- Rope Light
- Power Cord (3 are included with spools)
- Garden Staples or U Stakes to proceed tubing in place
- Stop caps (3 are included with spools)
How to Illuminate Walkways & Landscapes Using Rope Light:
This will guarantee you have the verbal amount of rope light you need for the area you are lighting. To starting time, unravel a length of rope light from the spool and identify information technology downwardly in your desired position forth a walkway or other mural features. Then, make adjustments every bit needed until you have the tubing positioned where you desire it. Next, insert the commencement garden staple at the uttermost stop reverse the spool. If y'all're lighting a directly path yous can space the staples farther apart, even so, if the path is curved, you may want to use extra anchors to keep the tubing deeply in place. When the rope low-cal is deeply held in place, cut it from the spool and add together a power string to one end and an end cap to the other. Then seal the cease cap and plug connectors to prevent wet from getting in.
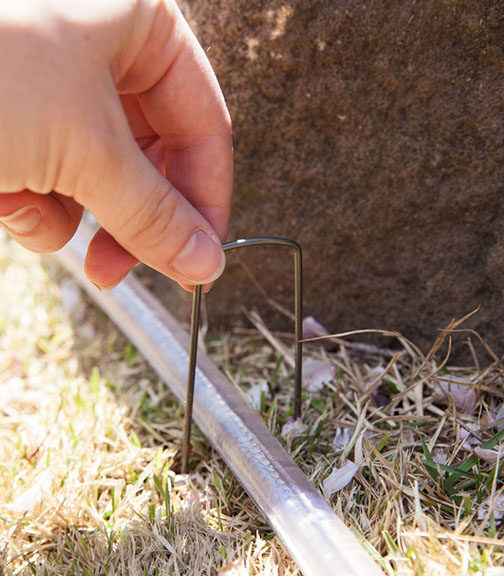
Use Garden Staples to Secure Rope Light
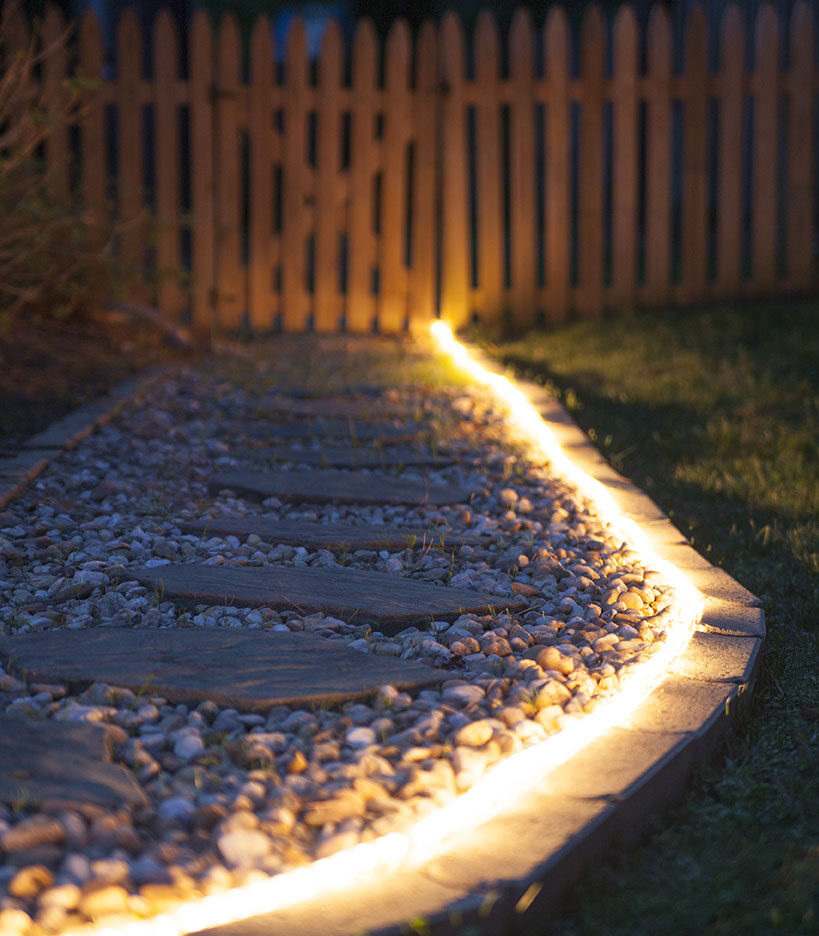
Rope Lite Illuminates a Garden Path
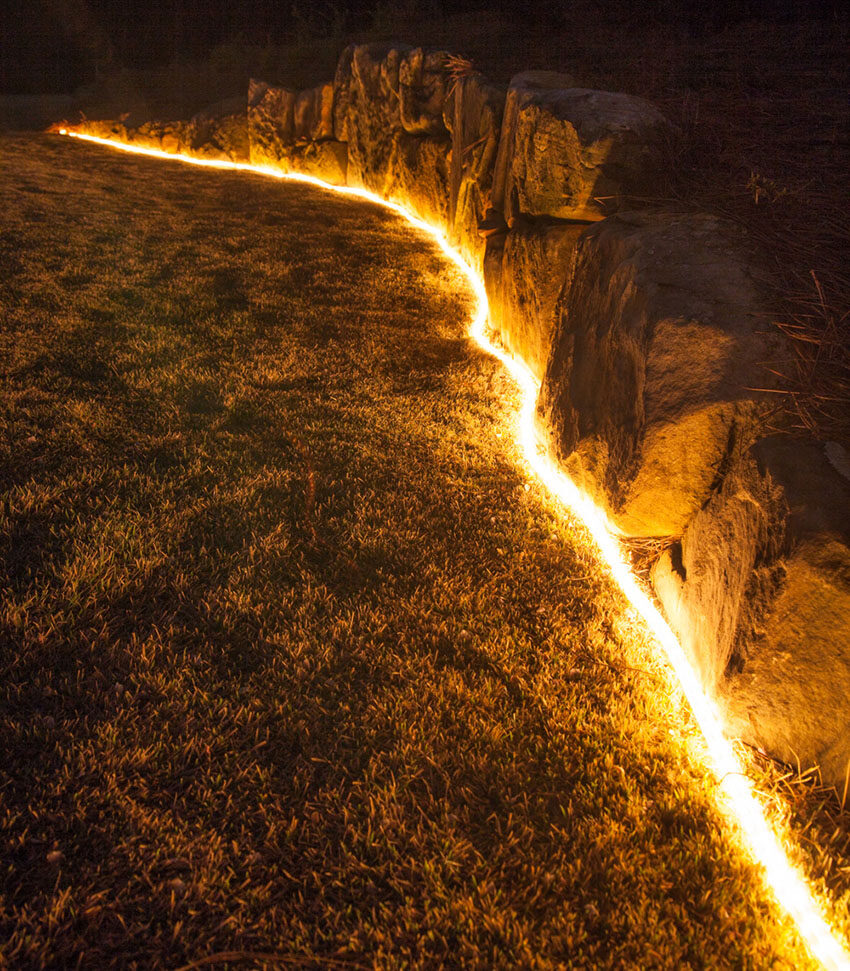
Rope Low-cal Highlights Landscape Contours
Install Rope Light Beyond a Deck
What Y'all'll Demand:
- Rope Light
- Power Cord (3 are included with spools)
- Screw in mounting clips (50 are included with spools)
- Stop caps (3 are included with spools)
- Phillips head screwdriver
How to Install Rope Light on a Deck:
Calculation rope light under deck railings is incredibly like shooting fish in a barrel! 150 foot rope light spools and 18ft. rope light kits come with screw-in mounting clips which are perfect for this awarding. These clips hide beneath railings and along trim. You can measure your deck and employ a pencil or chalk to mark the locations where y'all program to place your clips or simply use the deck railings every bit markers and identify a clip at each rail or every other rail. When the clips are all installed, simply slide the rope lite in identify. If you're working with a rope light spool, we recommend waiting to cutting the rope low-cal from the spool until you have the tubing in place on your deck exactly how you want it. And so adhere a power cord to one end and an end cap to the other. And so seal the end cap to prevent moisture intrusion. For smaller decks, you may be able to use one or ii 18 foot rope low-cal kits for this project. These kits already have a power cord and end cap in place which makes installation even easier, but you might end up with an unlit section or excess rope light. If yous want the rope lite to exactly fit the measurements of your deck, using a spool is the best pick.

Rope Low-cal Installed Nether a Deck Railing
Rope light accessories provide you with supportive fabric for a wide variety of applications. From outdoor landscaping and events to indoor accent and ambience lighting, rope lite accessories give you the freedom to create your own personalized lighting displays.
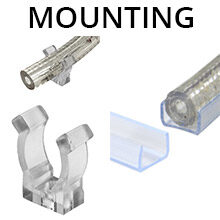
Affix rope lite to a variety of indoor and outdoor surfaces using mounting clips and channel tracks.
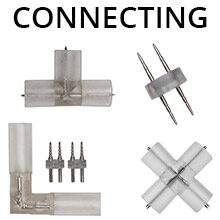
Create personalized designs and displays by joining multiple rope light sections together with connectors.
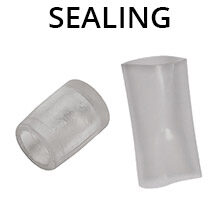
Rope light sealants and shrink wrap tubes create water-tight connections between multiple rope light runs and at cutting ends.
Run ability to your rope low-cal projects with power cords and extension cables available in multiple sizes.

Source: https://www.yardenvy.com/diy/rope-light-outdoor-landscape-ideas
Posted by: cruzhiscre.blogspot.com
0 Response to "How To Install Led Rope Lights Outdoor"
Post a Comment